When considering window tinting for your home, understanding the timeframes involved is crucial. Not only does this knowledge help in planning, but it also sets realistic expectations for the installation process and its benefits. As an expert in home improvement solutions, I aim to provide homeowners with clear, concise information about what to expect when investing in window tinting. In this expanded guide, we’ll delve deeper into the process, benefits, and factors that can affect the timeline, ensuring you have all the information you need to make a well-informed decision.

Window tinting involves applying a thin layer of film to the interior or exterior of glass surfaces. This film reduces heat, blocks harmful UV rays, and enhances privacy without sacrificing natural light. It’s a cost-effective solution that enhances both the aesthetic and functional aspects of your home. In addition to these core benefits, window tinting can also contribute to a more sustainable living environment by reducing reliance on artificial cooling systems.
Moreover, window tinting is versatile and customizable. It comes in a variety of shades, colors, and patterns, allowing homeowners to tailor the appearance to match their interior design and exterior aesthetics. This adaptability means that whether you have a modern, minimalist home or a traditional, cozy setting, there’s a window tinting solution that will suit your style and enhance your home’s overall look.
Benefits of Window Tinting
Before diving into timeframes, it’s essential to understand why window tinting is a worthwhile investment:
- Energy Efficiency: Window tinting reduces heat transfer, lowering energy costs by keeping your home cooler in the summer and warmer in the winter. This energy efficiency not only saves money on utility bills but also reduces your carbon footprint, making it an environmentally friendly choice. Over time, the savings on energy costs can offset the initial investment in window tinting, making it a financially sound decision as well.
- UV Protection: Tinted windows block up to 99% of harmful UV rays, protecting your furniture, flooring, and artwork from fading. This protection extends the life of your home interiors, preserving their appearance and value. Beyond protecting your belongings, reducing UV exposure can also contribute to better skin health for occupants, making your home a safer living environment.
- Increased Privacy: Tinting adds an extra layer of privacy, allowing you to enjoy natural light without compromising your home’s seclusion. This is particularly beneficial for homes in densely populated areas where neighbors are in close proximity. Moreover, window tinting can also help reduce glare, improving comfort while watching TV or using electronic devices.
- Aesthetic Appeal: Available in various shades and styles, window tints can complement any interior design. Whether you prefer a subtle look or a bold statement, there’s a tint option that can enhance your home’s aesthetic appeal. Additionally, window tinting can add a sleek, modern touch to your home’s exterior, boosting curb appeal and potentially increasing property value.
The Window Tinting Process

To fully grasp the timeframes involved, let’s break down the window tinting process:
Consultation and Selection
The first step is consulting with a professional to discuss your needs and preferences. This meeting helps you choose the right type of tint for your home. During the consultation, factors such as the size of the windows, the desired level of tint, and the specific benefits you’re seeking will be discussed. This is a crucial phase as it ensures that the chosen tinting solution aligns perfectly with your expectations and budget.
Timeframe: This initial step can take anywhere from a few days to a week, depending on your schedule and the availability of the consultant. It’s advisable to prepare a list of questions and concerns before the consultation to make the most of this meeting. Also, consider scheduling multiple consultations to compare different products and services before making a decision.
Measurement and Quotation
Once you’ve selected the appropriate tint, the next step involves measuring your windows. Accurate measurements ensure that the film is cut precisely to fit your windows, which is crucial for a seamless installation. After measurements, you’ll receive a detailed quotation outlining the costs and timeframes. The quotation should include a breakdown of materials, labor, and any additional services, providing a clear picture of the financial commitment involved.
Timeframe: Expect this phase to take about 1 to 3 days. It’s important to ensure that the measurements are done accurately, as any errors can lead to delays or additional costs. Don’t hesitate to ask the provider to explain any part of the quotation that you don’t understand, ensuring transparency and avoiding unexpected expenses.
Installation
With measurements taken and a quote in hand, the installation can begin. The installation involves cleaning the windows, cutting the film, and applying it carefully to avoid bubbles and imperfections. This step requires precision and expertise to ensure a perfect finish. Professional installers have the necessary tools and experience to handle the film correctly, which minimizes the risk of damage and ensures a longer lifespan for the tint.
Timeframe: The installation can vary depending on the number and size of windows. For an average-sized home, it typically takes 1 to 2 days. However, larger homes or more complex installations may take longer. It’s wise to allocate extra time beyond the estimated timeframe to accommodate any unforeseen challenges that may arise during installation.
Curing and Settling
After installation, the tint needs time to cure and settle. During this period, it’s normal to see some bubbles or a hazy appearance. These will dissipate as the film adheres fully to the glass. It’s important to avoid cleaning the windows or applying pressure to the film during this curing phase to prevent damage.
Timeframe: Curing typically takes about 1 to 2 weeks, depending on the climate and weather conditions. In warmer climates, the curing process can be faster. Patience during this time is key, as attempting to speed up the process can lead to imperfections or reduced performance of the tinting.
Factors Affecting Timeframes

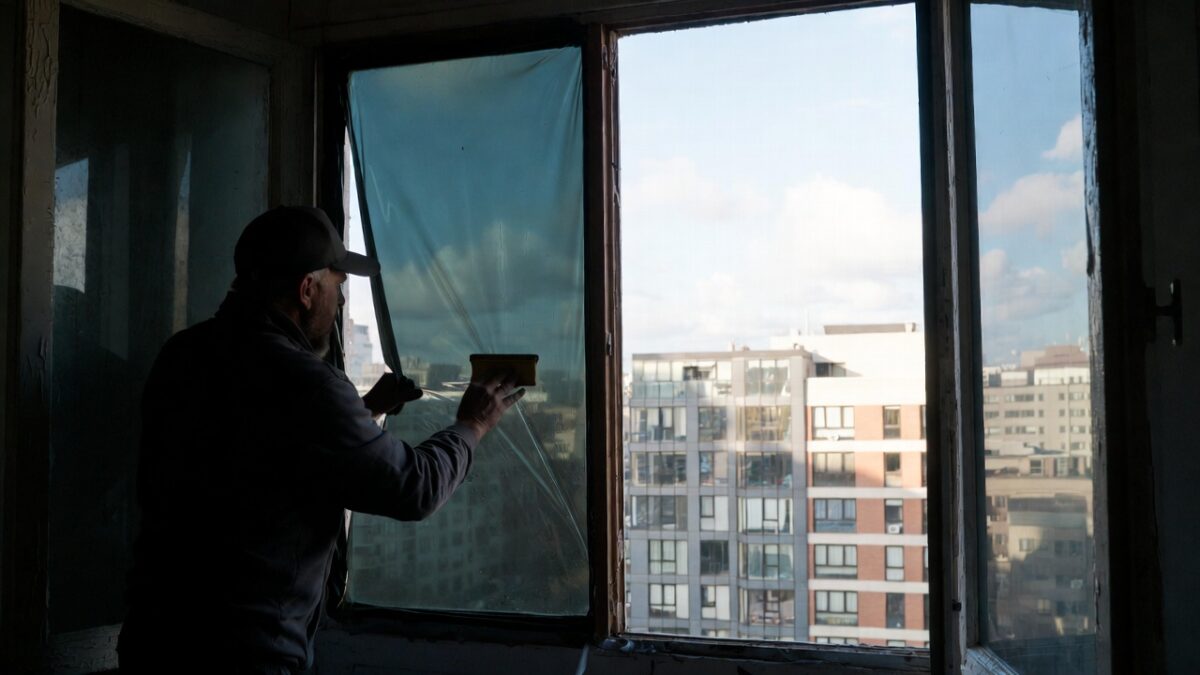
by Felix Chen (https://unsplash.com/@felixchen98)
Several factors can influence the timeframes associated with window tinting:
- Weather Conditions: Extreme temperatures or high humidity can affect both installation and curing times. Wet or humid conditions can hinder the film’s ability to adhere properly, potentially prolonging the curing process. Installers might recommend rescheduling if the weather is not conducive to a successful installation.
- Window Size and Number: Larger windows or a higher number of windows will naturally extend the installation time. Homes with custom or unusually shaped windows may also require additional time and customization, affecting the overall timeframe.
- Type of Film: Some films require more precision and time to install, particularly those with patterns or specialized coatings. Films designed for decorative purposes or those offering additional security features may involve a more complex installation process.
- Access and Complexity: Windows that are difficult to access or have intricate designs may require more time and effort. Installers may need special equipment for high or hard-to-reach windows, which can extend the installation period.
Preparing Your Home for Installation
To ensure a smooth and efficient installation process, homeowners should take a few preparatory steps:
- Clear the Area: Remove any furniture or objects near the windows to give the installer easy access. This not only facilitates a quicker installation process but also prevents damage to your belongings.
- Ensure Clean Windows: While the installer will clean the windows before application, it’s helpful to ensure they’re relatively clean beforehand. This pre-cleaning can help identify any existing scratches or blemishes on the glass, which might affect the final appearance of the tint.
- Communicate Needs: Clearly communicate any specific requirements or concerns with the installer to ensure you’re satisfied with the outcome. Discuss any additional features you might want, such as glare reduction or increased privacy, to tailor the installation to your specific needs.
Conclusion: Is Window Tinting Worth the Wait?
Window tinting is an investment in your home’s comfort, energy efficiency, and aesthetic appeal. Understanding the timeframes involved helps you plan effectively and sets realistic expectations for the process. With professional installation, the benefits of window tinting can be enjoyed for many years to come, making it well worth the time and effort.
By opting for window tinting, you’re not only enhancing your home’s appearance but also contributing to a more sustainable, energy-efficient living environment. For homeowners and interior designers alike, window tinting offers a practical, stylish solution that complements any space. The initial time and effort invested are quickly outweighed by the long-term advantages of reduced energy costs, increased privacy, and preserved home interiors.
In the world of home improvement, patience and precision are key. By understanding the window tinting process and its timeframes, you can make informed decisions that align with your needs and enhance your living space beautifully. The satisfaction of a well-executed tinting project is a testament to the value of careful planning and expert execution, ensuring your home remains a comfortable and inviting haven.