Window films are one of the most searched window upgrades for homes and businesses in Toronto and the GTA. People search for window films when rooms feel too hot, when glare ruins screens, when furniture fades near windows, or when glass feels unsafe after a break-in nearby. Window films change how glass behaves. They reduce heat, block UV rays, add privacy, and help protect glass without replacing windows.
Across Toronto, North York, Scarborough, Vaughan, Markham, Mississauga, and Brampton, window films are installed in condos, offices, shops, clinics, and houses every week. A downtown condo uses window films to cool glass towers in summer. A Scarborough plaza uses them to slow smash-and-grab theft. A home in Etobicoke uses them to block views from the street. Same product. Very different problems.
If you want a full overview of real options from a local installer, start with window films used in Toronto buildings every day.
How Window Films Work on Glass
Window films are thin sheets made from layered polyester materials. They are applied directly to glass. In most Toronto installs, window films go on the inside of the window. Interior installs last longer and handle weather changes better.
Normal glass lets sunlight pass through with little control. That sunlight brings heat, glare, and UV rays. Window films add layers that change how light and heat move through the glass.
Each layer has a role.
- Some layers reflect solar heat away
- Some absorb heat before it spreads inside
- Some block UV rays that fade interiors
- Thicker layers help hold glass together if it breaks
This is why window films can fix more than one issue at once.
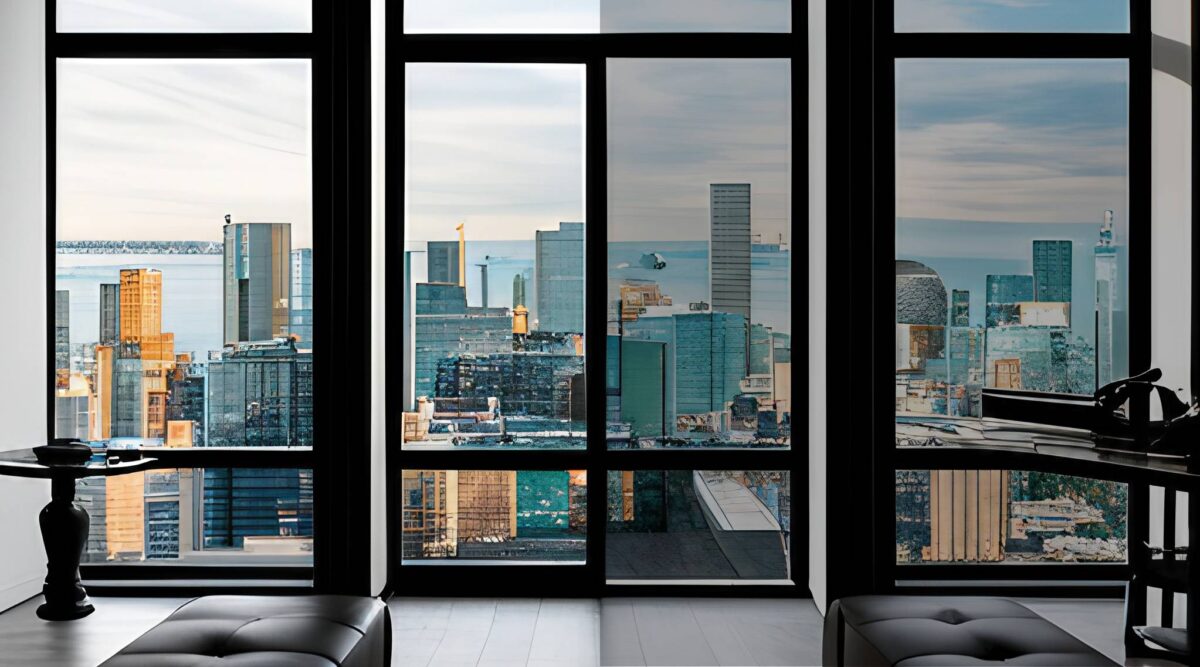
A condo near Spadina and Fort York had west-facing windows. By late afternoon, the living room felt unuseable in summer. After window films were installed, glare dropped and the room stayed cooler. Same glass. No replacement.
Why Window Films Matter in Toronto Weather
Toronto summers bring strong sun and long daylight hours. Glass traps heat inside buildings. Window films reduce how much heat passes through the glass.
Condos with floor-to-ceiling windows notice the biggest change. Offices with west or south exposure feel it too.
In winter, glass lets indoor heat escape. Some window films reduce heat loss and help rooms feel less cold near windows. This shows up a lot in older homes across East York and North York.
If heat control is the main problem, this guide explains it clearly: block heat and UV with solar film.
UV Protection and Interior Fading
UV rays damage more than skin. They fade hardwood floors, furniture, artwork, clothing, and retail displays. Window films block up to 99 percent of UV rays.
This matters in homes with big windows. It matters in shops with front displays. It matters in offices where desks sit near glass.
A retail store in Markham replaced faded signs every few months. After window films were installed, fading slowed fast. Displays lasted longer. Costs dropped.
Clear window films block UV too. Dark tint is not needed.
Health Canada explains indoor UV exposure here: Health Canada UV radiation overview.
Privacy Benefits of Window Films
Privacy is one of the main reasons people install window films.
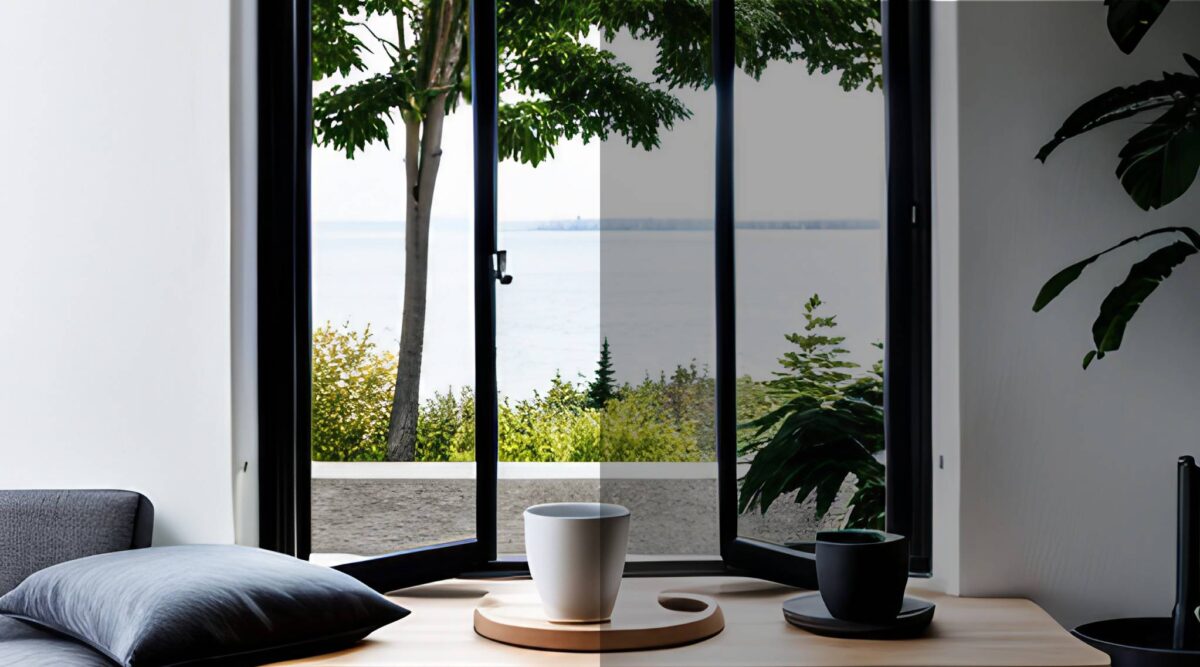
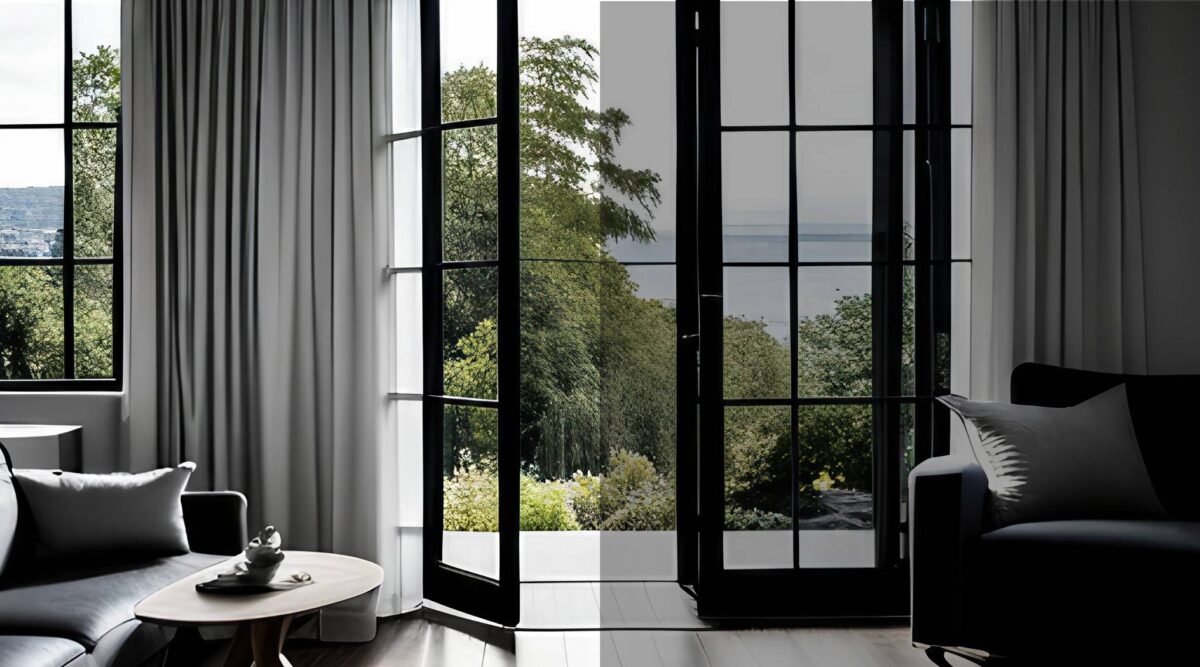
Some window films add daytime privacy. Others frost glass fully. Some reflect light outside while staying clear inside.
Bathrooms, sidelights, offices, gyms, and street-facing windows use privacy films the most.
A home near the Danforth faced a busy sidewalk. Curtains blocked light and made the room feel small. Privacy window films fixed the issue. Light stayed. Privacy improved.
For simple privacy options, see achieve privacy with window films.
Protection Window Films and Glass Safety
Protection window films are thicker than standard films. They are made to improve safety.
When glass breaks, shards spread fast. Protection window films help hold broken glass together. This slows entry and reduces injury risk.
They do not make glass unbreakable. They buy time.
A small shop near Lawrence Avenue had repeat break-ins. After protection window films were installed, another attempt failed. The glass cracked but stayed in place.
Protection films are common on storefronts, glass doors, ground-floor condos, and offices near busy streets.
To understand this option better, read protect with security window films.
How Window Films Are Installed
Window films only work well when installed right.
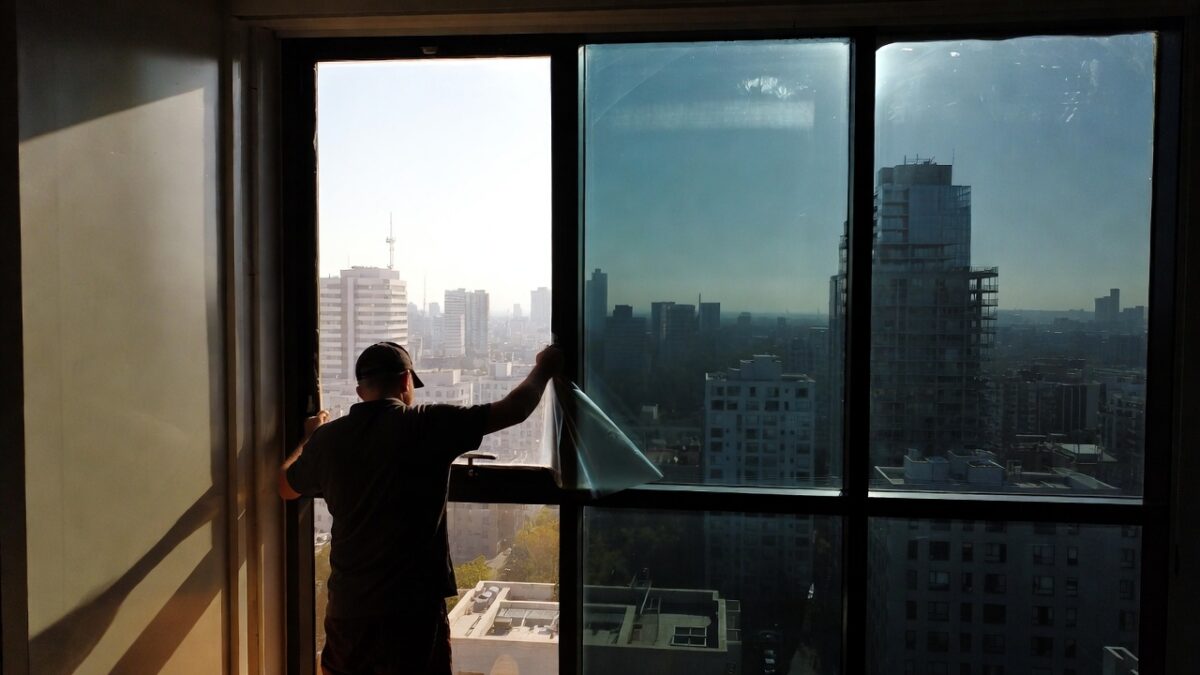
Professional installs follow a clear process.
- Glass is checked for type and condition
- The correct window film is chosen
- Glass is cleaned fully
- Film is cut to exact size
- Film is applied with controlled moisture
- Edges are smoothed to stop peeling
Bad installs fail early. Bubbles show up. Edges lift. Haze appears.
Many DIY kits fail in downtown condos. They often get removed within a year.
This short video explains how window films work in simple terms: How Window Film Works.
Window Films vs Window Replacement
Many people compare window films with full window replacement.
Window replacement costs more and takes longer. Condo boards may not allow it.
Window films upgrade existing glass. Installs are quick. Results show right away.
For heat, glare, UV, privacy, and safety problems, window films often fix the issue without replacing windows.
This comparison explains the difference: window films vs. replacements.
How Long Window Films Last
Professionally installed window films last a long time.
Most last between 10 and 20 years. Lifespan depends on sun exposure, film quality, and glass type.
Interior films last longer than exterior films in Toronto weather.
Peeling and bubbling usually come from poor installs, not the film.
Who Uses Window Films in Toronto
Window films are used across many spaces.
- Condos and apartments
- Retail shops
- Office buildings
- Medical clinics
- Schools and gyms
- Restaurants and cafes
Each space uses window films for different reasons. Comfort. Privacy. Safety. Energy savings.
When Window Films Make Sense
Window films work best when problems come from glass.
Rooms feel too hot. Screens get glare. Furniture fades. Privacy feels low. Glass feels unsafe.
Window films fix these issues without changing the building.
Choosing the Right Window Films
Not all window films perform the same.
Different films handle heat, light, UV, and safety in different ways. Glass type matters too.
This is where local experience helps. Toronto buildings vary a lot. Condo rules vary too.
Thinking About Window Films in Toronto or the GTA?
If window films sound like the right fix for your space, talk with a local installer who works in Toronto buildings every day.
Ask questions. See samples. Match the film to the problem.
You can learn more or request help from Tintly Window Films. Straight answers first. Install only if it makes sense.
When window films are chosen right and installed well, comfort improves fast. Bills drop. Spaces feel easier to live and work in.