Removing window tint might seem like a daunting task, but with the right knowledge and tools, it can be a straightforward process. Whether you’re a homeowner looking to update your interior or a car owner aiming to comply with local regulations, mastering this skill can save you time and money. Let’s delve into the details of understanding window tint and the safe and effective methods for its removal.

Window tint is a thin film applied to glass surfaces, often used in cars and homes. It provides a range of benefits, such as reducing glare, blocking UV rays, and improving energy efficiency. In vehicles, it can also enhance privacy and security by obscuring the view into the car. In homes, window tint can help maintain a consistent indoor temperature by reducing heat transfer through windows. However, over time, tint can degrade, necessitating removal.
Why Remove Window Tint?
There are several reasons why you might want to remove window tint:
- Aesthetic Wear and Tear: Tint can fade, bubble, or peel, diminishing the appearance of your windows. This can be particularly noticeable in vehicles, where constant exposure to sunlight accelerates wear. In addition to being unsightly, deteriorating tint can also give a neglected appearance to your property or vehicle.
- Legal Compliance: Some regions have specific regulations on the darkness of window tint, especially for vehicles. Failing to comply with these regulations can result in fines or the need to remove the tint to pass vehicle inspections. Understanding local laws is crucial to avoid these potential legal issues.
- Improved Visibility: Overly dark or damaged tint can obstruct your view and reduce visibility, posing a safety risk while driving. Removing or replacing the tint can enhance visibility and improve safety on the road, particularly at night or in adverse weather conditions.
- Energy Efficiency: Old tint might not perform as well, leading to higher energy costs. As window tint ages, its ability to block heat and UV rays diminishes, reducing its effectiveness in energy conservation. By removing old tint, you can assess whether a new application would better serve your energy efficiency needs.
By understanding these factors, you can decide when it’s time to remove and possibly replace your window tint. Making an informed decision about tint removal ensures that your windows function optimally, both in terms of appearance and performance.
The Safe and Simple Removal Method

Removing window tint doesn’t have to be a daunting task. With the right tools and approach, you can safely remove tint from your windows. Here’s a step-by-step guide to help you through the process. Whether you’re tackling this project at home or with some help from friends, preparation and patience are key to success.
Tools You’ll Need
Before you start, gather the following tools:
- Hairdryer or Heat Gun: Essential for loosening the adhesive that holds the tint in place. A heat gun provides a more consistent and higher heat, but a hairdryer can also do the job if used correctly.
- Razor Blade or Utility Knife: Used to carefully lift and peel the tint. It’s important to use a sharp blade to prevent scratching the glass.
- Ammonia-based Cleaner: Helps dissolve the adhesive residue left after the tint is removed. Ammonia is effective for breaking down stubborn adhesives but should be used with caution and proper ventilation.
- Spray Bottle: Allows for easy application of cleaning solutions. Ensures an even distribution of the cleaner over the surface.
- Fine Steel Wool: Useful for scrubbing away any remaining residue without scratching the glass. It should be used gently to avoid damaging the window surface.
- Microfiber Cloth: Ideal for wiping away debris and polishing the glass to a clear finish. Microfiber cloths are preferred for their ability to trap dirt and dust without leaving lint behind.
- Protective Gloves: Protect your hands from sharp tools and chemicals. They also provide a better grip when handling slippery or small tools.
Step-by-Step Guide to Removing Window Tint
Step 1: Prepare the Workspace
Start by preparing your workspace. If you’re removing tint from car windows, ensure the vehicle is in a well-ventilated area. This is crucial because the process involves heat and chemicals that can produce fumes. Protect the interior surfaces from potential damage by covering them with plastic sheets. This prevents any cleaning solutions or adhesive residues from staining or damaging the upholstery.
Step 2: Heat the Tint
Use a hairdryer or heat gun to warm the tint. Hold the device a few inches away from the glass and move it back and forth. The heat softens the adhesive, making it easier to peel off the tint. Be cautious not to overheat the glass, as this can cause it to crack. Consistently moving the heat source ensures even warming and prevents damage.
Step 3: Begin Peeling
Once the tint is heated, use a razor blade or utility knife to lift a corner of the film. Carefully peel the tint away from the glass. Work slowly to avoid tearing the film, which can make removal more difficult. If the tint starts to tear, reapply heat to soften the adhesive further. Patience in this step ensures a cleaner removal process with minimal leftover residue.
Step 4: Clean the Adhesive Residue
After removing the tint, you’ll likely find adhesive residue left on the glass. Fill a spray bottle with an ammonia-based cleaner and spritz it onto the glass. Allow it to sit for a few minutes to break down the adhesive. Use fine steel wool or a razor blade to gently scrape off the residue. Be cautious to avoid scratching the glass. Wipe the area with a microfiber cloth to remove any remaining debris. This step might need to be repeated if the adhesive is particularly stubborn.
Step 5: Final Clean
Perform a final clean with a glass cleaner to ensure all residue is gone and the glass is clear. This step will leave your windows sparkling and ready for a new tint application, if desired. A thorough cleaning also ensures that the surface is free of any particles that could interfere with a new tint application. This final touch-up is key to achieving a professional, streak-free finish.
Tips for Successful Tint Removal
- Patience is Key: Rushing the process can lead to tearing and more cleanup work. Taking your time ensures that the tint comes off in larger pieces, reducing the time spent on removing tiny fragments.
- Safety First: Always wear gloves to protect your hands from sharp tools and chemicals. Additionally, wearing safety goggles can protect your eyes from splashes or debris.
- Test a Small Area First: Before committing to a method, test it on a small section to ensure it doesn’t damage the glass. This precaution helps identify the best approach for your specific tint and glass type, minimizing the risk of damage.
When to Consider Professional Help

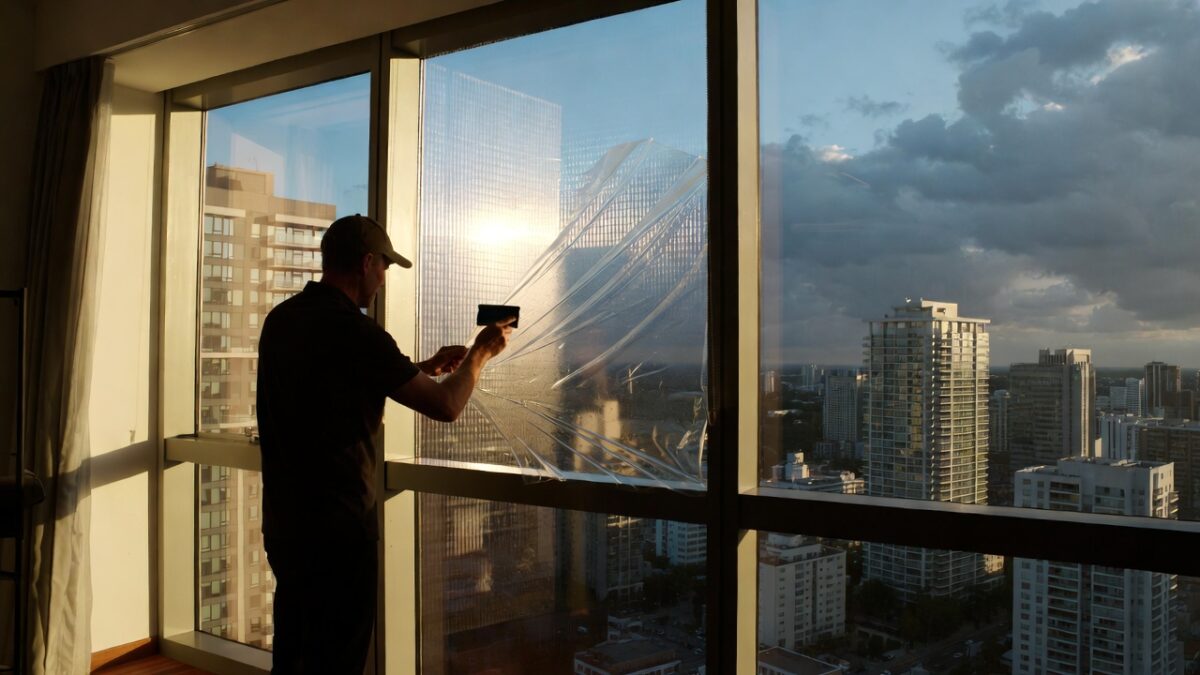
by K Adams (https://unsplash.com/@kadams77)
While DIY tint removal is feasible, there are times when professional help is beneficial:
- Large Projects: Removing tint from numerous windows or large glass surfaces can be time-consuming and labor-intensive. Professionals have the experience and tools to complete such tasks efficiently and with minimal disruption.
- Delicate Glass: If you’re dealing with older or fragile glass, a professional can prevent potential damage. They have the expertise to handle delicate surfaces safely, reducing the risk of cracks or scratches.
- Guaranteed Results: Professionals often offer guarantees on their work, giving you peace of mind. This assurance can be particularly valuable if you are concerned about achieving a flawless finish or if the tint is in a challenging location.
Conclusion
Removing window tint is a straightforward process that can restore the clarity and aesthetics of your windows. By following the steps outlined above, you can safely and effectively remove tint at home. Whether you’re updating your car’s look or ensuring your home windows are energy-efficient, knowing how to handle window tint removal is a valuable skill for any homeowner or interior designer. Not only does it enhance your property’s appearance, but it also improves functionality and compliance with regulations.
In some cases, seeking professional assistance can save time and ensure a flawless result. Whatever you choose, maintaining your windows’ functionality and appearance is key to enhancing your living spaces. Remember, clear and well-maintained windows contribute to a comfortable and inviting environment.
With these insights and guidelines, you’re now equipped to tackle window tint removal confidently and efficiently. Happy tinting! Whether you’re doing it yourself or hiring a pro, the end result will be windows that are clearer, brighter, and ready for whatever comes next.