# Accurate Measuring for DIY Window Film Projects
Installing window film can transform a living space by adding style, privacy, and energy efficiency. However, the key to a successful DIY window film project lies in accurate measuring. Without precise measurements, even the best window film won’t fit properly, leading to unsightly gaps, wrinkles, or wasted materials. Let’s explore how to measure your windows like a pro and ensure your DIY window film installation is flawless.

Understanding the Importance of Accurate Measurements
Accurate measurements are the foundation of a successful window film installation. Here’s why:
- Aesthetics: Properly fitted film looks sleek and professional, enhancing the overall aesthetic of a room.
- Functionality: Correctly measured film ensures full coverage, providing maximum privacy and UV protection.
- Cost-effectiveness: Accurate measurements mean no wasted film, saving you money and reducing material waste.
Inaccurate measurements can lead to a variety of issues, from bubbles and wrinkles to gaps that let in unwanted light. This is why understanding how to measure accurately is crucial before starting your DIY window film project.
Tools You Need for Measuring
Before you begin, gather these essential tools:
- Measuring tape (preferably metal for accuracy)
- Notepad and pen for recording measurements
- Ladder (for high or large windows)
- Masking tape (optional, for marking points)
Having the right tools will make your measuring process smoother and more precise, setting the stage for a perfect installation.

Step-by-Step Guide to Measuring Your Windows
Step 1: Clean the Window
Before measuring, ensure your windows are clean and free from dust and debris. This will give you a clear view of the window’s edges and prevent any dirt from interfering with your measurements.
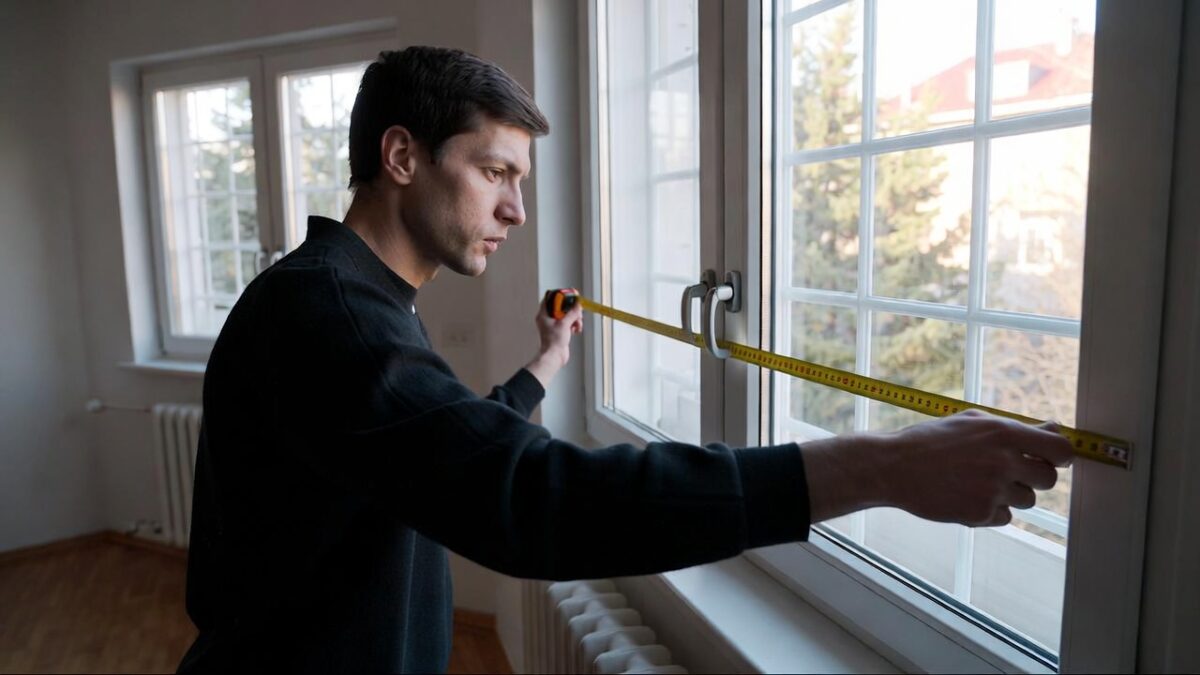
Step 2: Measure the Width
Start by measuring the width of the window. Measure from one side to the other, taking measurements at the top, middle, and bottom of the window. Windows may not always be perfectly square, so measuring at multiple points helps ensure accuracy. Record the smallest of the three measurements.
Step 3: Measure the Height
Next, measure the height of the window. Measure from the top to the bottom, again taking measurements on the left, center, and right sides of the window. Record the smallest measurement.
Step 4: Account for the Frame
If your window film will cover the frame, include the frame in your measurements. Otherwise, measure only the glass area. Knowing exactly what you want to cover will guide your measurement adjustments.
Step 5: Double-Check Your Measurements
Double-check all your measurements to avoid errors. It’s easy to misread numbers or transpose them when writing them down, so verifying ensures you have the correct data.
Preparing Your Window Film
Once you have your measurements, it’s time to prepare the window film for installation.
Cutting the Film
Using your measurements, cut the window film slightly larger than necessary. This will give you a margin for error during installation. You can trim the excess once the film is applied to the window.
Organizing Your Workspace
Set up your workspace near the window you’re working on. Ensure you have all your tools within reach, as well as a clean, flat surface for cutting the film. An organized workspace makes the process easier and more efficient.

by Maryam F. (https://unsplash.com/@encoreunemaryam)
Installation Tips for a Flawless Finish
With your film cut and your workspace organized, you’re ready to install the window film. Here are some tips to ensure a flawless finish:
- Apply Soapy Water: Use a spray bottle filled with soapy water to lightly mist the window. This helps the film adhere smoothly and allows you to reposition it as needed.
- Start from the Top: Align the top edge of the film with the top of the window, then gradually work your way down. Use a squeegee to remove air bubbles and excess water.
- Trim Excess Film: Once the film is in place, use a utility knife to carefully trim any excess film from the edges. A clean, sharp blade will ensure a neat finish.
Troubleshooting Common Issues
Even with careful measuring and preparation, issues can arise. Here’s how to troubleshoot common problems:
- Bubbles: Use a squeegee to push bubbles towards the edge of the film. If bubbles persist, gently lift the film and reapply.
- Wrinkles: If the film wrinkles, carefully peel it back to the wrinkle, then smooth it out as you reapply.
- Misalignment: If the film is misaligned, you can gently lift it and reposition it, thanks to the soapy water layer.
Final Thoughts
Accurate measuring is the cornerstone of a successful DIY window film project. By following these steps and taking the time to measure carefully, you can achieve a professional-looking result that enhances your home’s aesthetics and energy efficiency. Whether you’re an interior designer seeking cost-effective solutions or a DIY enthusiast looking to upgrade your space, mastering the art of measuring will set you on the path to success.
With precision and patience, your window film installation will not only meet but exceed your expectations, providing both beauty and functionality for years to come.